Hand Laid Turnout Tutorial
Page 5
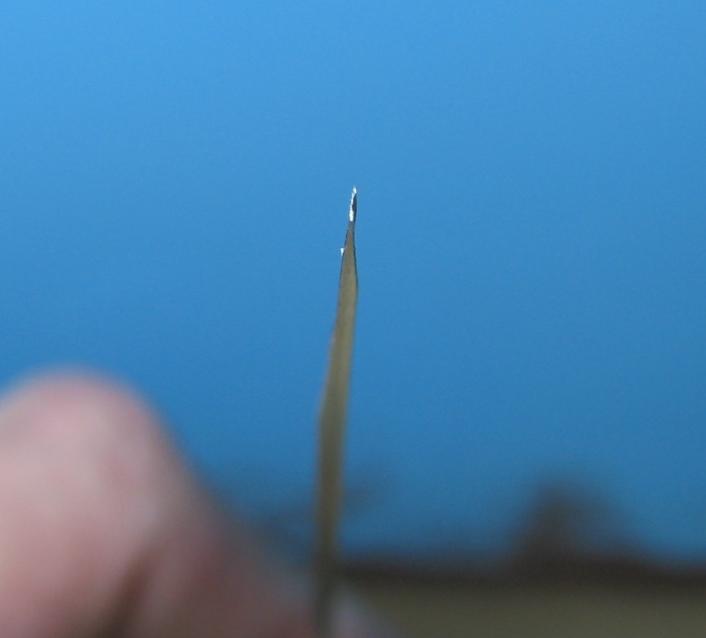
With the rail how it is now, we still have some of the head and web of the rail sticking out on the opposite side. This is one extra step I take to get the frog point as "pointy" as I can. We'll take and run the file over the web and head of the rail at the very end a little bit to make a super fine point.
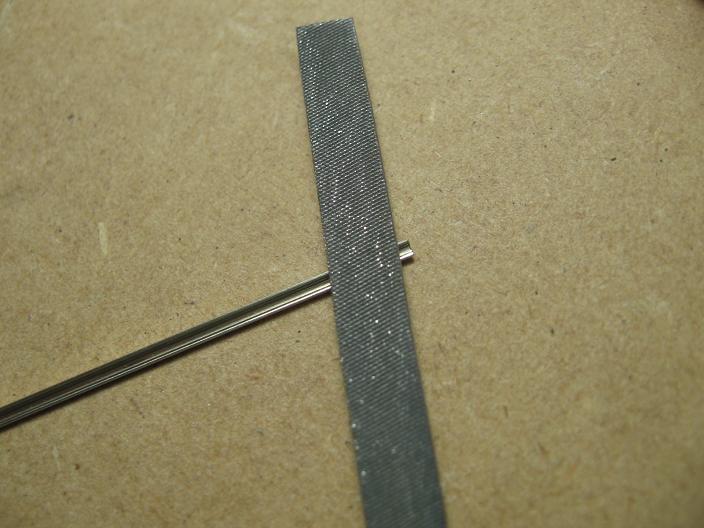
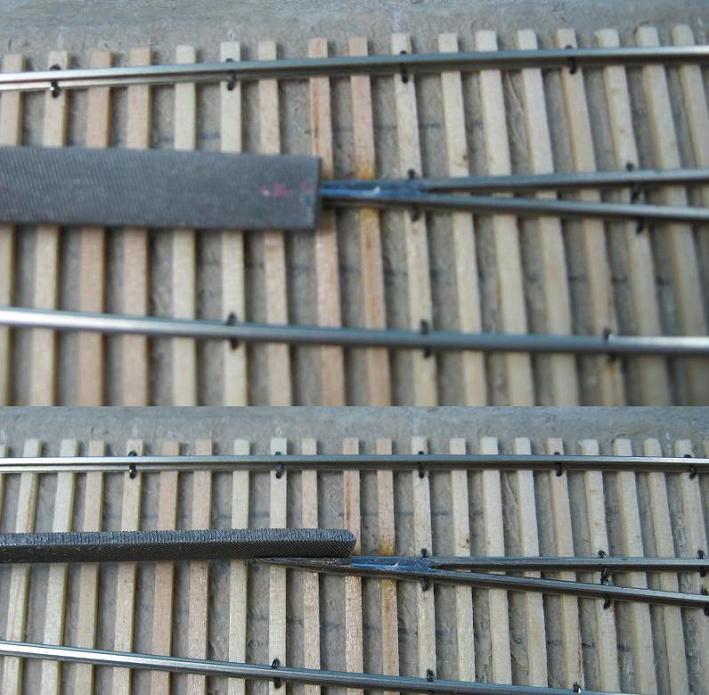
With the file at a slight angle, we'll file off quite a bit of the head and web of the rail towards the front, and feather it back to normal towards the rear. This area only needs to be about 3/16" wide. Here is a pic of the filed area.
Now that both sides are filed down, I take my Xacto blade and run it back and fourth around the whole area to get rid of the small burrs of rail still attached. You might also have to straighten the rail out a little, since the Point Former tends to put a bend in it.
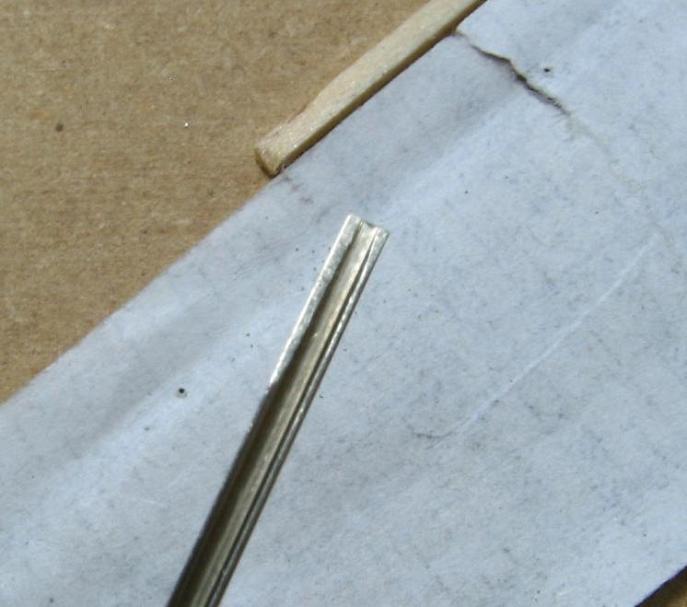
Here is the complete filed down rail end. The Fast Tracks filed side is on the left, the small angled side is on the right. Note how skinny and "pointy" the rail is now.
Now we'll take another piece of rail and make the other side of the frog point, doing the same things outlined here.
Now that the ends of both frog point rails are filed down, we'll need to cut them to length.
If you don't have any track past the turnout permanently put down then skip these steps, since it won't matter where then rails get cut at.
Since we've filed down a bit more of the rail ends to get them super pointy, they will stick out a bit further than where we marked the fog point at on the ties.
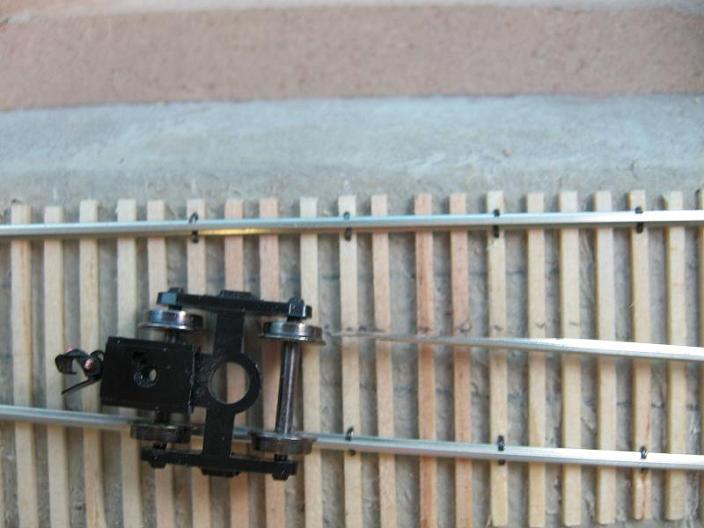
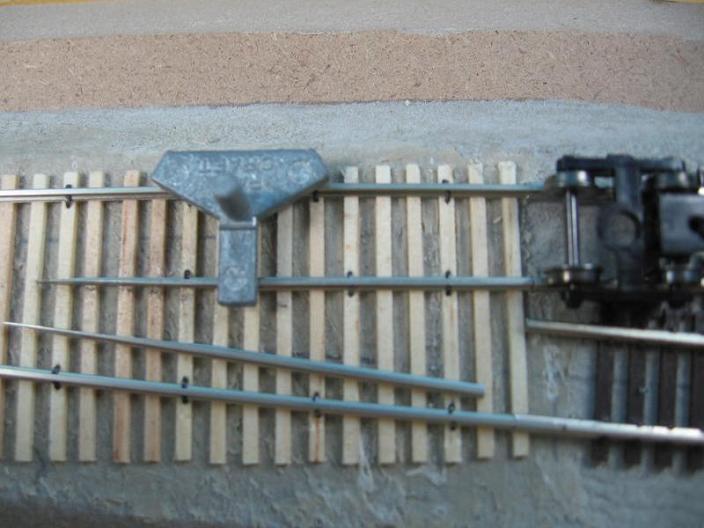
For these next steps, you can start with either side. Take the rail in one hand and hold it on top of and in a straight line with the flex track rail on the "fat" side of the turnout. Take the trucks/wheels with the other hand and jump back and fourth between sides until the end of the rail is centered in the wheel treads.
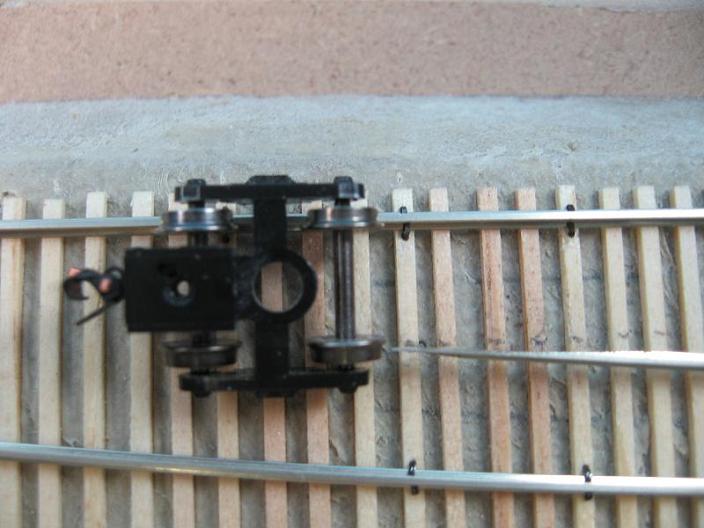
Then mark where to cut
Now you can lay the rail back in place and recheck with the trucks if wanted.
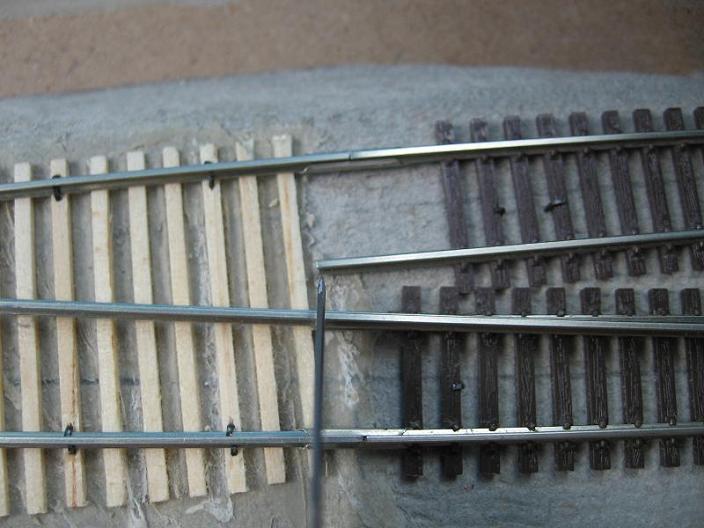
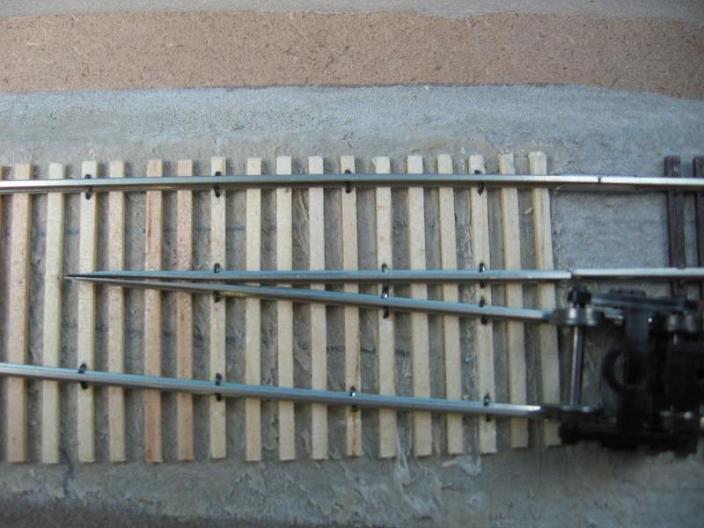
Now that one rail is cut, we'll cut the other rail. Take the track gauge and set it in place on the rail that was previously cut out. Take the other rail and line up the filed down pointy side with the first rail, then mark and cut. With both rails cut out, we'll take and set both track gauges on them to make sure everything lines up. Also check the points with the truck/wheels to make sure they are in the correct position.
If everything lines up good, then move one rail out of the way and start spiking the other rail.
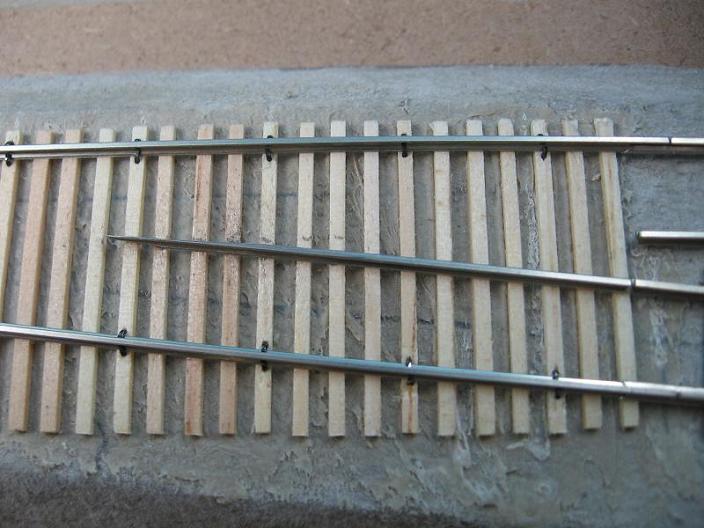
NOTE: make a mental note or mark on the ties where the frog rails get far enough apart to be able to put spikes between them without the rails getting out of alignment. The bigger the turnout, the further back this is.
ONLY use a few spikes for the time being, since we might need to adjust the rails once they are soldered together. It also doesn't matter which ties you spike into, since this whole area will be spiked because we won't want it moving.
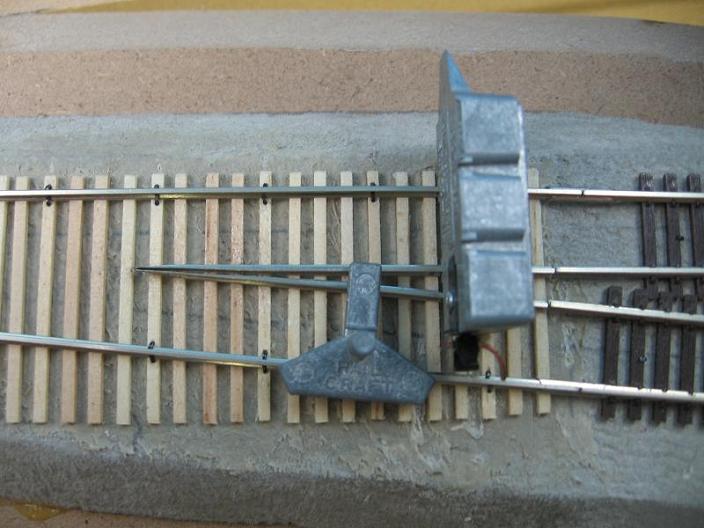
Now we'll take and fill in the the area between the frog points with solder. I use a cheap pencil style soldering iron for all my turnouts. Take and sit the iron a little ways up from the ends, and add solder into the gap. It won't take much solder to fill it in.
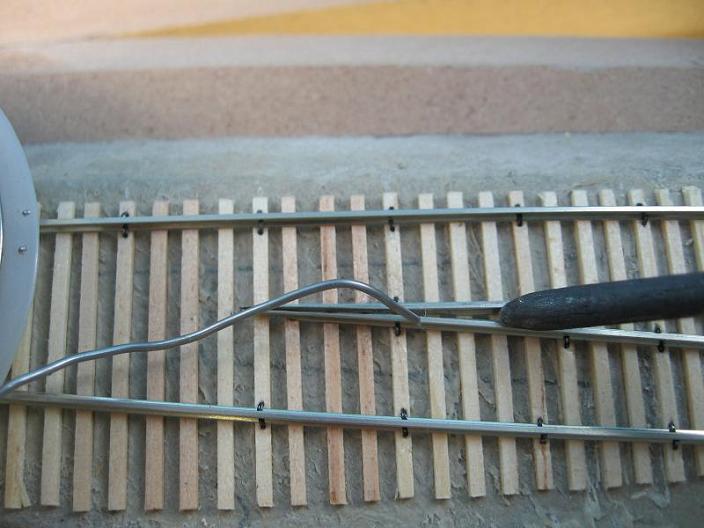
With the solder still hot, take your pliers and squeeze the points together. You might have to take the iron and move it up to this area if the solder cools on you.

Once the ends are squeezed together, remove the iron and keep the ends squeezed until the solder cools. We want to keep the points closed together as tight as possible.
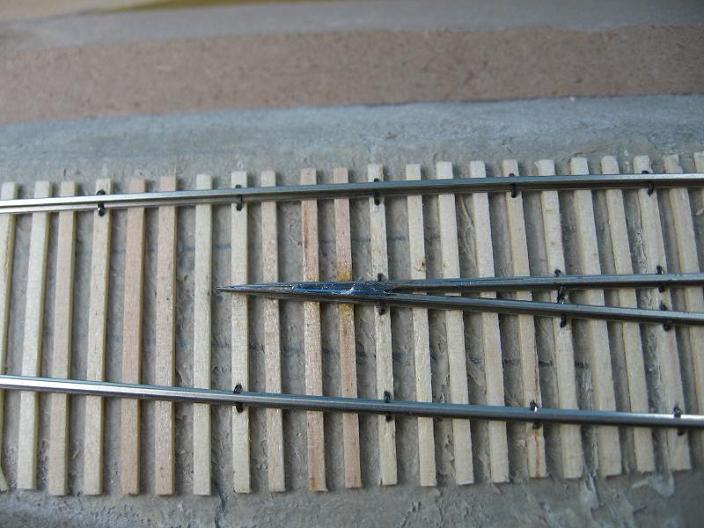
Once everything cools, take the file and smooth out the top of the rails and the edges of the points.
All material on The Owens Valley Subdivision website is Copyright 2007-20xx by Michael Stoner. None of the material (including text and photographs) on this web site may be reproduced in any form without prior written permission.